An Ultimate Guide on Your Automated Wordpress Testing
Get a step-by-step guide on automated testing in WordPress, whether it’s a website, a platform, or a web portal, backed by professional pieces of advice from DogQ QA specialists.

Technology is rapidly moving forward every month, but WordPress is still among the top choices for a CMS worldwide: whether it’s a blog, an e-commerce platform, or a corporate website, companies and individuals all over the world prefer it for its handy UI and powerful capabilities.
Ensuring that your WordPress site is running smoothly is key to providing a great user experience and maintaining your digital reputation. However, with so many elements at play — from themes and plugins to content and user interactions — keeping your site in top shape requires thorough and regular testing. In this guide, we’ll walk you through the essential steps of any WordPress website testing, so let’s dive in!
Why Is WordPress Testing Important?
WordPress now powers over 40% of all websites, but not all of them work properly because of the lack of QA: between numerous plugins, themes, third-party integrations, and core updates, even the smallest change can break something critical. That’s where automated testing comes in.
Here’s what can (and often does) go wrong when you skip proper wordpress testing:
❌ Plugin Conflicts
You install a new SEO plugin — and suddenly your checkout page is broken. WordPress sites rely heavily on plugins, but they don’t always play nice together. Automated testing catches these conflicts before they reach your users.
❌ Theme Updates Wrecking Layouts
Your designer updates a custom theme. The homepage looks great… But the blog layout? Completely destroyed on mobile. Visual regression tests help you detect broken UI elements instantly across all viewports.
❌ Broken Forms and CTAs
Your lead-gen form stops working after a backend tweak. No one notices until your conversion rate flatlines. With automated UI tests, you can validate form functionality and CTA behavior after every change.
❌ Security Vulnerabilities
A plugin update introduces a vulnerability, leaving your site exposed.
Automated testing can integrate security checks and alert you to known threats or outdated components.
❌ Core Updates Breaking Custom Features
Updating WordPress itself can sometimes break custom-coded sections or integrations. Without test coverage, it’s a guessing game. Regression testing ensures your custom logic still behaves as expected after each update.
But to eliminate all these hurdles, you should know how to test your WordPress site without complications. In fact, there are several ways to do it, and in the next chapter we’ll tell the difference between them.
Different Ways to Test a WordPress Site
Whether you’re running a small blog or a complex WooCommerce store, there are several ways to test your website. Each has its place — some are quick and manual, others are scalable and automated. Let’s break down the main methods:
🧪 Manual Testing
The old-school, hands-on approach. You click through the site yourself to check if pages load, buttons work, and forms submit properly.
Best for:
- Quick post-update sanity checks
- Content review
- UX walkthroughs
Downsides: Time-consuming, error-prone, and not scalable. Also, it’s easy to miss things — especially under tight deadlines.
🤖 Automated Functional Testing
These are scripted tests that simulate real user behavior — clicking buttons, submitting forms, navigating menus — to verify that everything works as expected.
Tools to use: Selenium, Cypress, DogQ, Playwright
Best for:
- Login/auth flows
- Checkout processes
- Contact forms
- Navigation menus
🖼️ Visual Regression Testing
This method compares screenshots of your site before and after changes to detect layout shifts, missing elements, or broken designs.
Tools to use: Percy, BackstopJS, Chromatic
Best for:
- Theme updates
- CSS changes
- Mobile responsiveness
🛠️ API Testing
If your website talks to other systems via REST API or GraphQL, you’ll want to test those connections too.
Tools to use: Postman, Swagger, Insomnia
Best for:
- Custom headless WordPress setups
- External service integrations (e.g., CRMs, payment gateways)
🛡️ Security Testing
This checks your site for vulnerabilities like outdated plugins, weak passwords, or exposed endpoints.
Tools to use: WPScan, Wordfence, Sucuri
Best for:
- Regular security audits
- Post-deploy checks
- Monitoring high-risk plugins
📦 Plugin & Theme Compatibility Testing
Every plugin or theme update can trigger chain reactions. Compatibility testing ensures all components still work well together.
Best for:
- Sites using 10+ plugins (aka 90% of WordPress installs)
- WooCommerce setups
- Custom-coded themes
No matter your site’s size, combining automated and manual testing is the sweet spot. The more you automate, the less you rely on guesswork — and the more confidently you can deploy changes.
How to Test Your WordPress Website: a Step-by-Step Guide
Now, let’s continue with a step-by-step strategy for testing your WordPress website:
Step 1: Identify the purpose of testing your WordPress website
WordPress website automated testing encompasses various aspects, each crucial for ensuring the site’s effectiveness and security. Here’s a breakdown:
- Usability Testing: This is about how user-friendly your website is. It involves evaluating the site’s layout, navigation, and overall user experience to ensure visitors can easily find what they’re looking for.
- Functionality Testing: Here, you assess if all aspects of your site are working as intended. This includes links, forms, search functionality, and any interactive elements.
- Compatibility Testing: It’s crucial to ensure your site performs well across different browsers (like Chrome, Firefox, Safari) and devices (desktops, tablets, smartphones). This guarantees a consistent experience for all users, regardless of their browsing tools.
- Performance Testing: This type of testing checks your website’s load time and how it handles traffic. Slow sites lead to high bounce rates, so ensuring your site loads quickly and efficiently is vital.
- Security Testing: With the increasing threats of cyber attacks, performing your WordPress website testing for vulnerabilities is non-negotiable. This includes checking for potential breaches, safe data handling, and secure transactions.
- Unit Testing: This is more technical, involving testing individual components of your website to ensure each part functions correctly in isolation.
- Cross-Browser Testing: Similar to compatibility testing, this specifically ensures that your website performs well across various web browsers, keeping in mind different versions and updates.
Each of these testing types plays a pivotal role in creating a robust, reliable, and user-friendly WordPress website. They collectively contribute to a comprehensive assessment, addressing different aspects of your website’s health and performance.
Step 2: Create a backup
Before diving into any form of testing, it’s paramount to secure your website with a reliable backup. This step is crucial as it ensures that you have a fallback option in case anything goes wrong during the testing process.
Using WordPress backup plugins is an effective and straightforward way to safeguard your data. Here are some noteworthy plugins that can help:
- UpdraftPlus: This plugin stands out for its ease of use and comprehensive features. It allows you to schedule automatic backups and store them in various cloud storage options like Dropbox, Google Drive, or Amazon S3.
- Jetpack VaultPress Backups: Part of the Jetpack suite, VaultPress offers real-time backup and security scanning services. It’s a robust solution for ensuring your website data is always up-to-date and secure.
- BackWPup: A versatile plugin that lets you create complete backups of your site. BackWPup supports a variety of storage options and can also optimize and check your database.
- BlogVault: Known for its reliability, BlogVault creates daily automatic backups and offers a real-time backup feature for WooCommerce sites. It also provides easy site migration and staging capabilities.
By utilizing these WordPress backup plugins, you can rest assured that your website’s data is safely stored and can be easily restored if necessary. It’s a critical step to maintain the integrity of your site while undergoing various testing procedures.
Step 3: Choose a perfect tool
Selecting the right tool for your WordPress website testing can significantly streamline the process. The advantages of using specialized tools include efficiency in identifying issues, time-saving in repetitive tasks, and enhanced accuracy in detecting potential problems.
Among the various options, our DogQ no-code testing tool stands out. It is designed to make testing more available, eliminating the need for coding knowledge. Its user-friendly interface allows you to easily set up and run tests, making it an excellent choice for both beginners and seasoned professionals.
Also, DogQ new AI-based features such as AI suggester, AI steps generator, and AI healer can be especially useful in your QA process optimisation without compromising on quality:

Step 4: Make and test your changes
After selecting your testing tool, the next step is to make and test changes on your WordPress site. Utilizing tools like DogQ simplifies this process. Its no-code approach allows you to effortlessly create test scenarios that mimic real user interactions. This helps in identifying any user experience issues or bugs that might not be immediately apparent.
Testing changes with DogQ offers a detailed analysis of how new features or updates will perform, ensuring that every alteration enhances the website’s overall functionality and user experience.
Testing changes on a copy or staging version of your site is always recommended first, rather than directly on the live site. This approach minimizes risks and allows for thorough testing without affecting your site’s live performance.
Step 5: Deploy successful changes back to the main site for re-testing
Once the changes have been successfully tested, it’s crucial to deploy them back to the main site for further re-testing. This step is essential to ensure that the changes integrate seamlessly with the rest of the site.
Manual vs. Automated Testing for a WordPress Site
When it comes to ensuring the integrity and performance of a WordPress web page, two primary approaches emerge: manual and automated testing. Each has its unique applications and benefits.
Manual Testing involves a hands-on approach where testers manually navigate through the site, checking its various functionalities, user interface, content, and overall user experience. Manual wordpress website testing is particularly useful for understanding the actual user interaction and for tests that require human judgment, like design and layout assessments. However, manual testing can be time-consuming and may miss out on detecting some subtle, yet critical, issues.
Automated Testing, on the other hand, employs software tools and plugins to conduct tests without human intervention. This method excels in consistency, speed, and efficiency. Automated testing of a wordpress website can quickly cover a wide range of scenarios and functionalities, including load testing, performance testing, and security checks.

Tools like Selenium or plugins like WP Test, for instance, can simulate multiple user interactions and load conditions to perform rigorous WordPress automated testing. Automation is particularly advantageous for repetitive tasks and regression testing, where the same tests need to be executed multiple times over the development lifecycle.
While manual testing offers a more user-centric perspective, automated testing stands out for its thoroughness and efficiency. In the fast-paced digital world, especially for dynamic WordPress sites, relying solely on manual testing isn’t feasible. Automated testing not only saves time but also enhances the accuracy of the testing process.
Therefore, for a comprehensive and efficient testing strategy, automated testing is often the superior choice for WordPress sites.
How To Test the Security of Your WordPress Site
WordPress sites are frequent targets for hackers, not because they’re weak, but because they’re popular. With so many moving parts (plugins, themes, custom code), it’s easy to overlook a small vulnerability that opens the door to big trouble. Here’s how to run a solid security check:
🎨 Theme Security
Themes are often bloated with outdated libraries, insecure functions, or shady third-party code.
What to do:
- Scan your theme files for malicious code (look for base64_decode, eval, exec, etc.)
- Use tools like Theme Check to ensure your theme follows WordPress coding standards
- Avoid using themes from untrusted sources (freebies from sketchy marketplaces = risk zone)
🔌 Plugin Security
Outdated or poorly coded plugins are the #1 way WordPress sites get hacked. What to do:
- Only install plugins from the official WordPress repo or trusted devs
- Regularly audit active plugins — disable or delete anything you’re not using
- Run WPScan to check for known plugin vulnerabilities
- Consider using a plugin vulnerability scanner like Wordfence or Sucuri
🛑 Never Use ‘admin’ as a Username
Still using admin as your login? That’s hacker bait. Brute-force attacks often start with this exact username. What to do:
- Change the default admin username ASAP
- Use long, unique usernames and strong, random passwords
- Enable two-factor authentication (2FA) for all users with elevated roles
🔄 Keep Everything Updated
It’s simple, but powerful: outdated WordPress cores, themes, and plugins are full of known exploits. What to do:
- Enable auto-updates, but safe, especially for minor releases and plugins
- Set up monitoring tools (like ManageWP or MainWP) to stay on top of version control
- Create a test/staging environment to preview how updates affect your site before going live
- Set up regular automated backups and a basic firewall (like Cloudflare or Wordfence) to double your defense.
Best Practices and Approaches for WordPress Testing by DogQ
Wordpress website testing is not just a one-time task but an ongoing process that ensures your website remains efficient, secure, and user-friendly. Below are some best practices that every WordPress site owner should consider implementing:
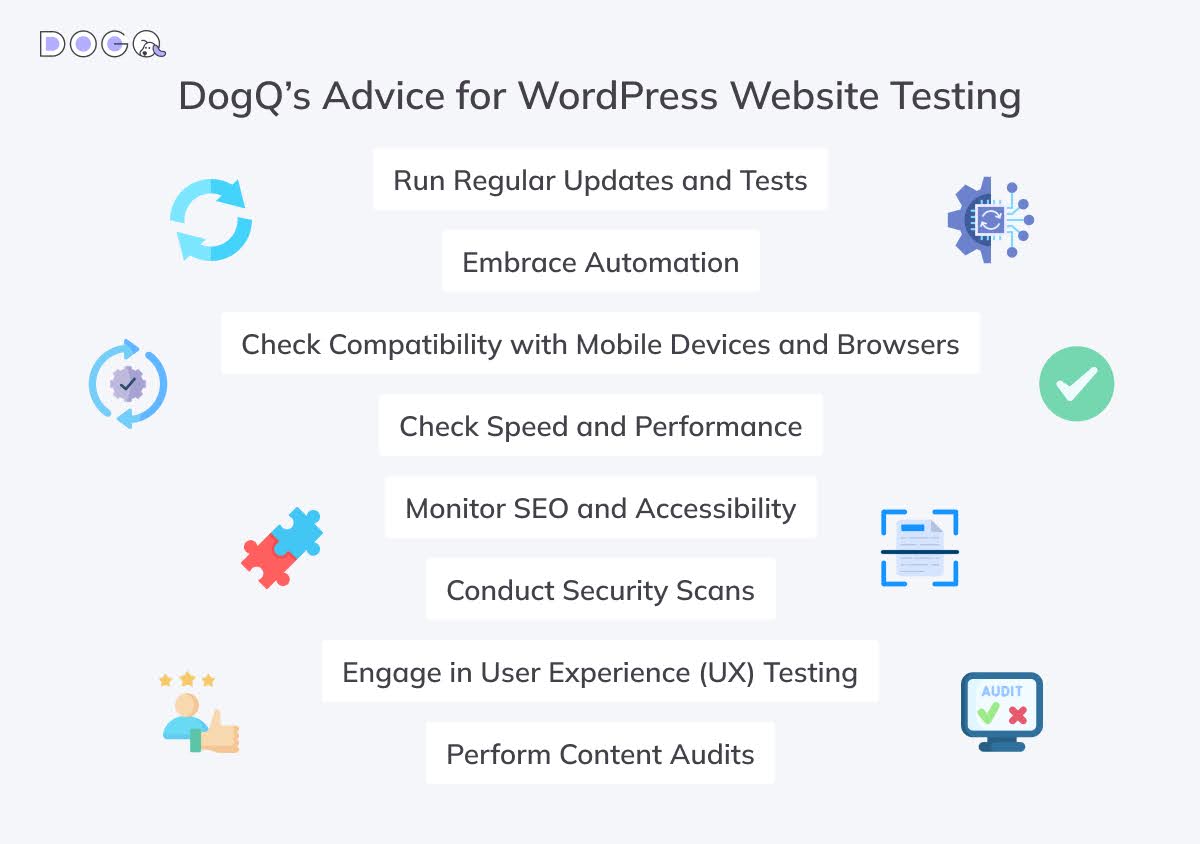
Run Regular Updates and Tests
Regularly updating your WordPress themes, plugins, and core, followed by thorough testing, is essential. This ensures that your website is up-to-date with the latest features and security patches, reducing vulnerabilities.
Embrace Automation
Automated testing tools like DogQ can significantly reduce the workload by automating repetitive testing tasks. This not only saves time but also increases the reliability of the tests.
Check Compatibility with Mobile Devices and Browsers
With a significant number of users accessing websites through mobile devices, it’s crucial to ensure your site is mobile-friendly. Additionally, test your website across different browsers to ensure consistent performance and appearance.
Check Speed and Performance
Website speed and performance have a direct impact on user experience and SEO. Regular testing for load times and responsiveness helps in maintaining an efficient, user-centric website.
Monitor SEO and Accessibility
Regular testing should also include SEO and accessibility checks. This ensures that your site is easily discoverable and accessible to all users, including those with disabilities.
Conduct Security Scans
Given the prevalence of cyber threats, conducting regular security scans is a must. Tools like Sucuri and Wordfence offer robust security solutions for WordPress websites.
Engage in User Experience (UX) Testing
Periodically conduct UX testing to understand how real users interact with your site. This feedback is invaluable for improving the overall user experience.
Perform Content Audits
Regularly review your website’s content for relevance, accuracy, and engagement. Updated and high-quality content keeps your site appealing and relevant to your audience.
By following these best practices, you can maintain a WordPress website that is not only technically sound but also aligns with the needs and expectations of your users.
Wrapping Up
In conclusion, wordpress automated testing is a critical aspect of maintaining a high-performing, secure, and user-friendly online presence. Whether you choose manual or automated testing, the key is to have a structured approach. Tools like DogQ offer an efficient path to automate and simplify testing, ensuring your website consistently meets quality standards.
Remember, testing is not just about finding errors — it’s about providing your customers with a top digital experience and keeping up with the dynamic digital landscape. Regular updates, compatibility checks, performance optimization, and embracing automation are essential strategies in the ever-evolving world of WordPress.
By adhering to the named above guidelines and leveraging the right tools, you can be sure that your WordPress site remains a robust, engaging, and secure platform for your audience. So, just take our pieces of advice, use the best practices, try DogQ no-code platform, and watch your WordPress website thrive in efficiency and user satisfaction!
Related Posts:
🪄 Let Tests Fix Themselves: Self-Healing Test Automation: Top 5 Examples
An Ultimate User Interface Testing Guide + UI Testing Checklist. We All Like to Talk About Seamless User Experience
Top 8 Key Test Automation Metrics. Get Insights on How to Boost Your Effectiveness
End to End Testing Guide for 2025. Learn Best Practices for Broader Coverage
A Form Testing Checklist + Tips for Complete Automation with Perfect Tools
Software Testing Best Practices Checklist. Achieve Thorough and Efficient Testing