Product Updates: Screenshots and file uploads
Taking screenshots while testing web apps has never been easier. Having the ability to upload the file while testing web forms has fulfilled an on-demand need.

Updated Screenshots Feature
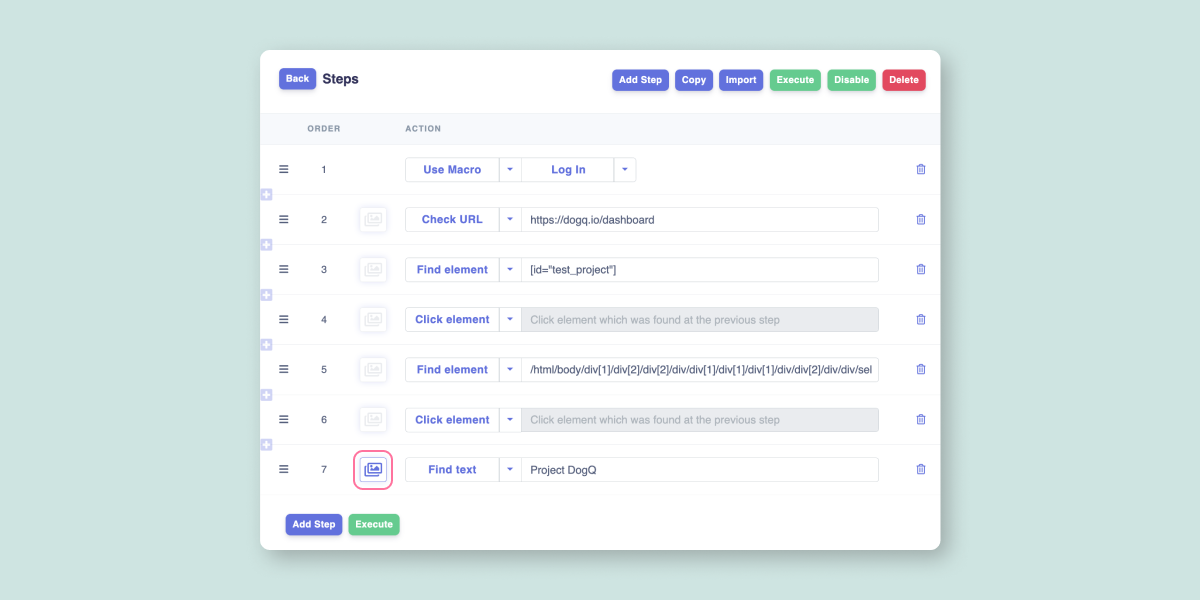
Now you can choose specific testing steps on when the DogQ takes screenshots while executing your tests.
This allows you to visually check the pages regardless of the test run status. You can also download the page source code for a deeper dive.
- To turn on the feature just click on the Screenshot Toggle near the Step:
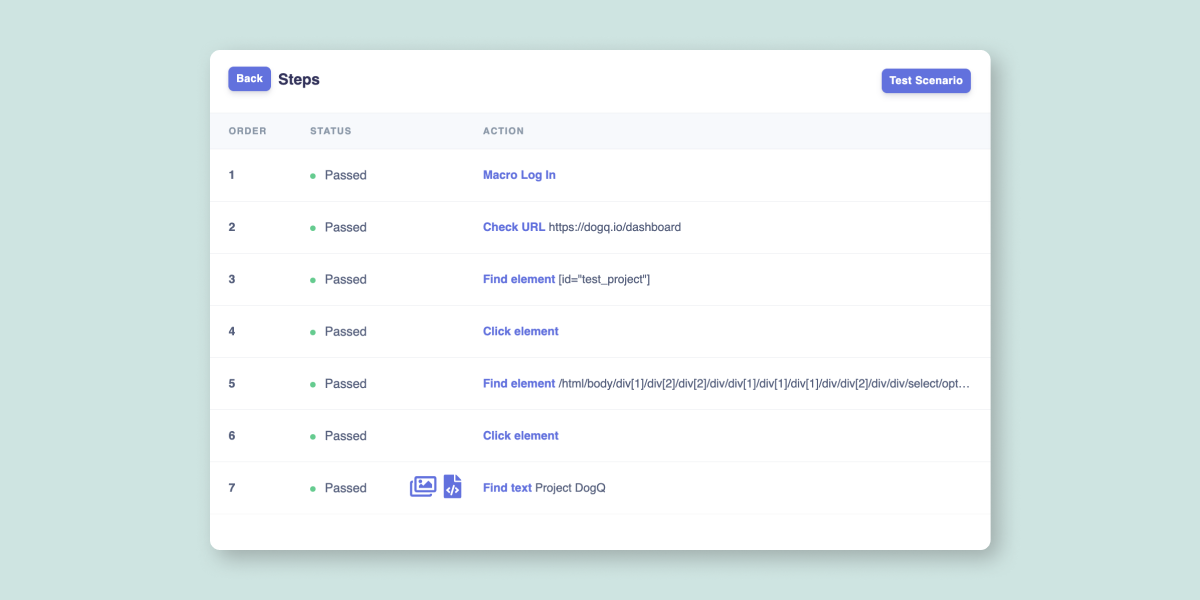
- To view the results click on the Name of the test run in the Test Runs block:
New Testing Step: Upload File
New Upload file testing step allows you to test web forms, customization features, and more. You can easily use your own documents, images, and videos up to 10 MB in your specific test scenarios.
- You can find Upload file testing step among other testing steps:
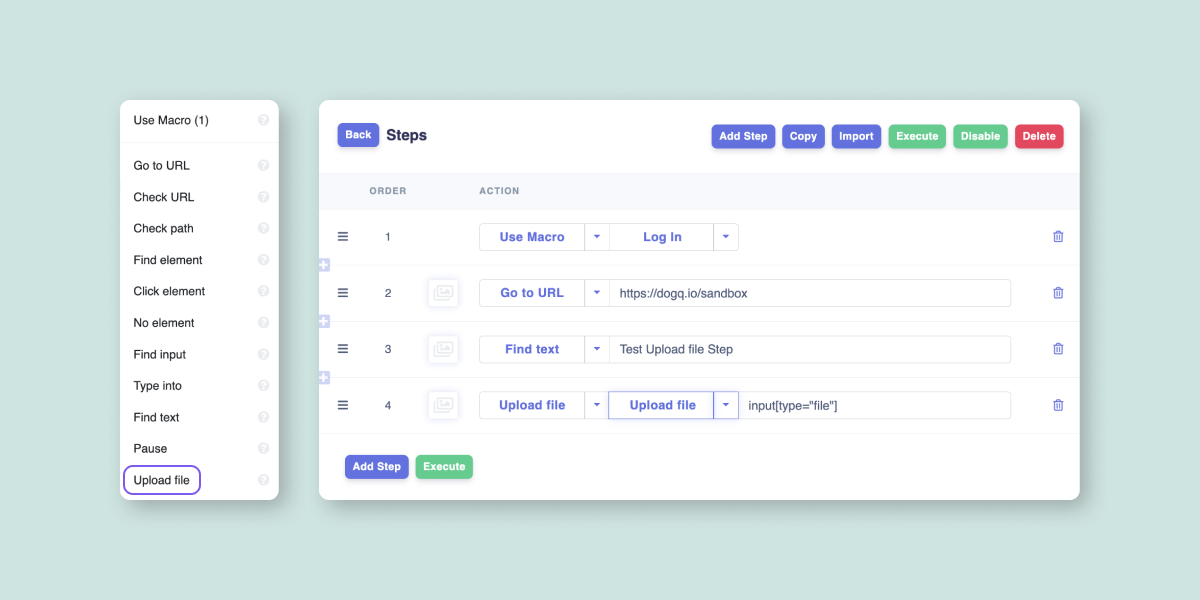
- To use the Upload file testing step:
- Click on the highlighted button in the Upload file step.
- Follow the dialog window that popped up and select the file from your system.
- Provide a selector for the element you want to upload your file to.

What's next?
New scheduling features are coming, offering greater flexibility and customization for your convenience.
Other features are on our roadmap. If you want us to prioritize a specific feature, let us know at [email protected].